
Introduction
Cultured stone, also known as manufactured stone or faux stone, is a popular choice for homeowners and builders looking to achieve the look of natural stone at a fraction of the cost. DIY cultured stone projects have gained popularity in recent years as more people seek to personalize their homes with unique and custom designs. In this comprehensive guide, we will explore the process of creating your own cultured stone veneer, the materials and tools you will need, and step-by-step instructions to help you achieve professional-looking results.
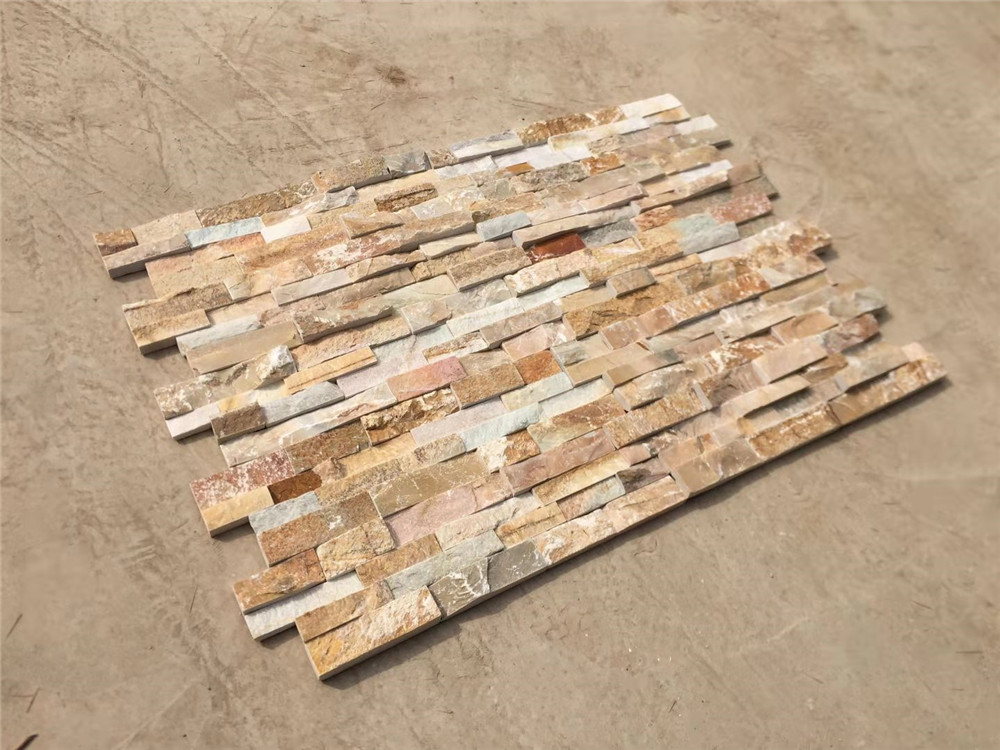
Chapter 1: Understanding Cultured Stone
Cultured stone is a man-made product designed to mimic the appearance of natural stone. It is typically made from a blend of Portland cement, aggregates, and iron oxides for color. Cultured stone is lightweight, easy to install, and comes in a variety of shapes, colors, and textures to suit different design preferences.
One of the key advantages of cultured stone is its versatility. It can be used for both interior and exterior applications, such as accent walls, fireplaces, and outdoor kitchens. Cultured stone is also more affordable than natural stone, making it a cost-effective option for homeowners on a budget.
Chapter 2: Materials and Tools
Before you begin your DIY cultured stone project, it's important to gather all the necessary materials and tools. Here is a list of items you will need:
Materials:
- Cultured stone veneer molds
- Portland cement
- Aggregates (such as sand or crushed stone)
- Iron oxide pigments (for color)
- Water
- Mold release agent
- Fiberglass mesh (optional)
- Stone sealer
Tools:
- Mixing container
- Trowel
- Rubber gloves
- Safety glasses
- Dust mask
- Paintbrush
- Utility knife
- Measuring cup
- Bucket
- Spray bottle
Chapter 3: Mixing the Ingredients
To create your own cultured stone veneer, you will need to mix the ingredients in the right proportions. Here's Stepping stone designs for unique appeal -by-step guide to mixing the materials:
1. Start by preparing the mold release agent. This will help prevent the cultured stone from sticking to the molds. Apply the mold release agent to the inside of the molds using a paintbrush.
2. In a mixing container, combine the Portland cement, aggregates, and iron oxide pigments. The exact proportions will vary depending on the desired color and texture of the cultured stone. Refer to the manufacturer's instructions for specific guidelines.
3. Add water to the dry ingredients gradually, mixing continuously until you achieve a thick, paste-like consistency. Be careful not to add too much water, as this can affect the strength and durability of the cultured stone.
4. If you are using fiberglass mesh for added strength, cut the mesh to fit the size of the molds. Place the mesh into the molds before pouring in the concrete mixture.
Chapter 4: Pouring and Setting the Cultured Stone
Once you have prepared the concrete mixture, it's time to pour it into the molds and allow it to set. Follow these steps to ensure a successful casting process:
1. Carefully pour the concrete mixture into the molds, filling them to the top. Use a trowel to smooth the surface and remove any air bubbles.
2. Tap the molds gently on a flat surface to help release any trapped air and ensure a smooth finish.
3. Allow the cultured stone to set and cure according to the manufacturer's instructions. This typically takes 24-48 hours, depending on the temperature and humidity levels.
4. Once the cultured stone has hardened, carefully remove it from the molds. If the stone is still wet or soft, allow it to dry further before handling.
Chapter 5: Finishing and Sealing the Cultured Stone
After the cultured stone has been removed from the molds, you can further enhance its appearance by applying a stone sealer and additional finishing touches. Follow these steps to complete the process:
1. Clean the surface of the cultured stone to remove any excess concrete or debris. Use a brush or damp cloth to wipe away any residue.
2. Apply a stone sealer to protect the cultured stone from moisture, stains, and UV damage. Follow the manufacturer's instructions for proper application and drying times.
3. If desired, you can also add additional texture or color to the cultured stone using paint or stains. Be sure to test a small area first to ensure compatibility with the sealer.
4. Once the sealer has dried, your DIY cultured stone veneer is ready to be installed. Follow the manufacturer's guidelines for proper installation techniques and maintenance.
Chapter 6: Tips for Success
Creating your own DIY cultured stone veneer can be a rewarding and cost-effective project, but it does require some skill and attention to detail. Here are some tips to help you achieve professional-looking results:
- Take your time when mixing the ingredients to ensure a smooth and consistent texture.
- Use proper safety gear, such as gloves, safety glasses, and a dust mask, to protect yourself from potential hazards.
- Experiment with different color pigments and textures to create unique and custom designs.
- Allow the cultured stone to cure fully before handling or installing to prevent damage.
- Follow the manufacturer's instructions for proper storage, handling, and maintenance of the cultured stone.
Conclusion
DIY cultured stone projects offer a creative and affordable way to enhance the look of your home with custom stone veneer. By following the steps outlined in this guide and using the right materials and tools, you can create beautiful and durable cultured stone that will add value and charm to any space. Whether you are a seasoned DIY enthusiast or a beginner looking to try something new, creating your own cultured stone is a rewarding and satisfying experience that will transform the look of your home for years to come.